

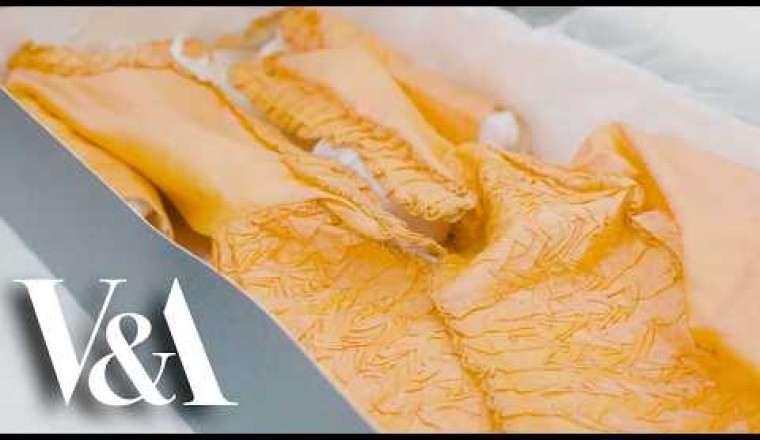

In this video, we take you behind the scenes of the Textile Conservation Studio to see how museum mounting professionals Lauren and Hannah mount and display an original 18th-century robe à la française (also known as a sack-back dress).
Experience each step of the textile mounting process — from preparing the mannequin with conservation-safe materials, to supporting delicate fabrics – all ensuring the long-term care of the garment.
This dress has an intriguing history – quite small in size, it was possibly made for a young adolescent or petite woman, and consists of a glimmering sunset-coloured shot silk. The material achieves a shimmering effect by using threads in different colours – a pink warp and a yellow weft.
Whether you're a costume historian, textile conservator, historical fashion enthusiast, or just interested in what goes on in our studios, this video gives you a unique insight into professional museum garment mounting.
Steps:
- 00:00 About the 18th-century dress
- 00:26 Materials – shot silk
- 00:47 Measuring and selecting a mannequin
- 01:42 Adding wadding
- 02:34 Petticoat & net layers for skirt
- 03:34 Levelling off the hem & adding top fabric
- 04:10 Unboxing the petticoat and fastening with gathering tapes
- 06:12 Interesting feature
- 06:30 Mounting the top dress
- 07:10 Fastening the bodice
- 07:52 Silhouette of the dress
- 08:29 Why is mounting important?